Five Reasons to Repaint Your Home's Exterior

Your home’s exterior painting directly impacts its curb appeal. The paint you choose allows you to show off your design preferences and property. However, weathering elements can take a toll on the exterior and require you to schedule a touch-up. There are some simple signs you can look out for that will help you decide when it’s time to call in the experts.

When Should I Redo My Exterior Painting?

1. Cracks & Flakes

Due to age, normal wear and tear, and exposure to the elements, paint can develop a variety of problems over time. The most common are cracks, flakes, and bubbling on the exterior. Not only do these diminish your home’s aesthetic, but it can also indicate that you have problems with rotting wood or mold.

2. Faded Colors

Fading is much more subtle than cracks or bubbling, but it’s still a valid reason to repaint the exterior of your home. Continual exposure to the sun’s UV rays, rain, and snow reduces the brightness of your home’s paint.

Since fading happens gradually, it’s not always obvious. Compare the current appearance of your home to a picture when it was freshly painted. If the colors have lost their luster, it’s time to have a new coat applied.

3. Problems with Chalking

This is another side effect of weathered paint. Chalking happens before the paint starts to peel or crack, so if you notice it, it’s better to schedule painting services immediately before more serious damage occurs.

Rub your hand over different parts of your home’s exterior, and if there is a fine powder on it, the paint has started chalking and needs to be redone.

4. Damaged Caulking 

The caulking around your home’s doors and windows ensures the inside is properly sealed. When small cracks start to appear, they'll raise your utility bills and let moisture seep into the home.

To protect your house, have the caulking replaced and a fresh coat of paint applied to protect the interior from outdoor elements.

5. Dated Paint

Most exterior paints are designed to last between seven to 10 years, but in that time, many other aspects of your home might’ve changed. A new fence, updated shutters, or renovations on exterior doors can clash with the original paint color. Create a unified aesthetic with a fresh coat of paint to maximize your curb appeal.

Kid Friendly Ideas for Bathroom Renovations

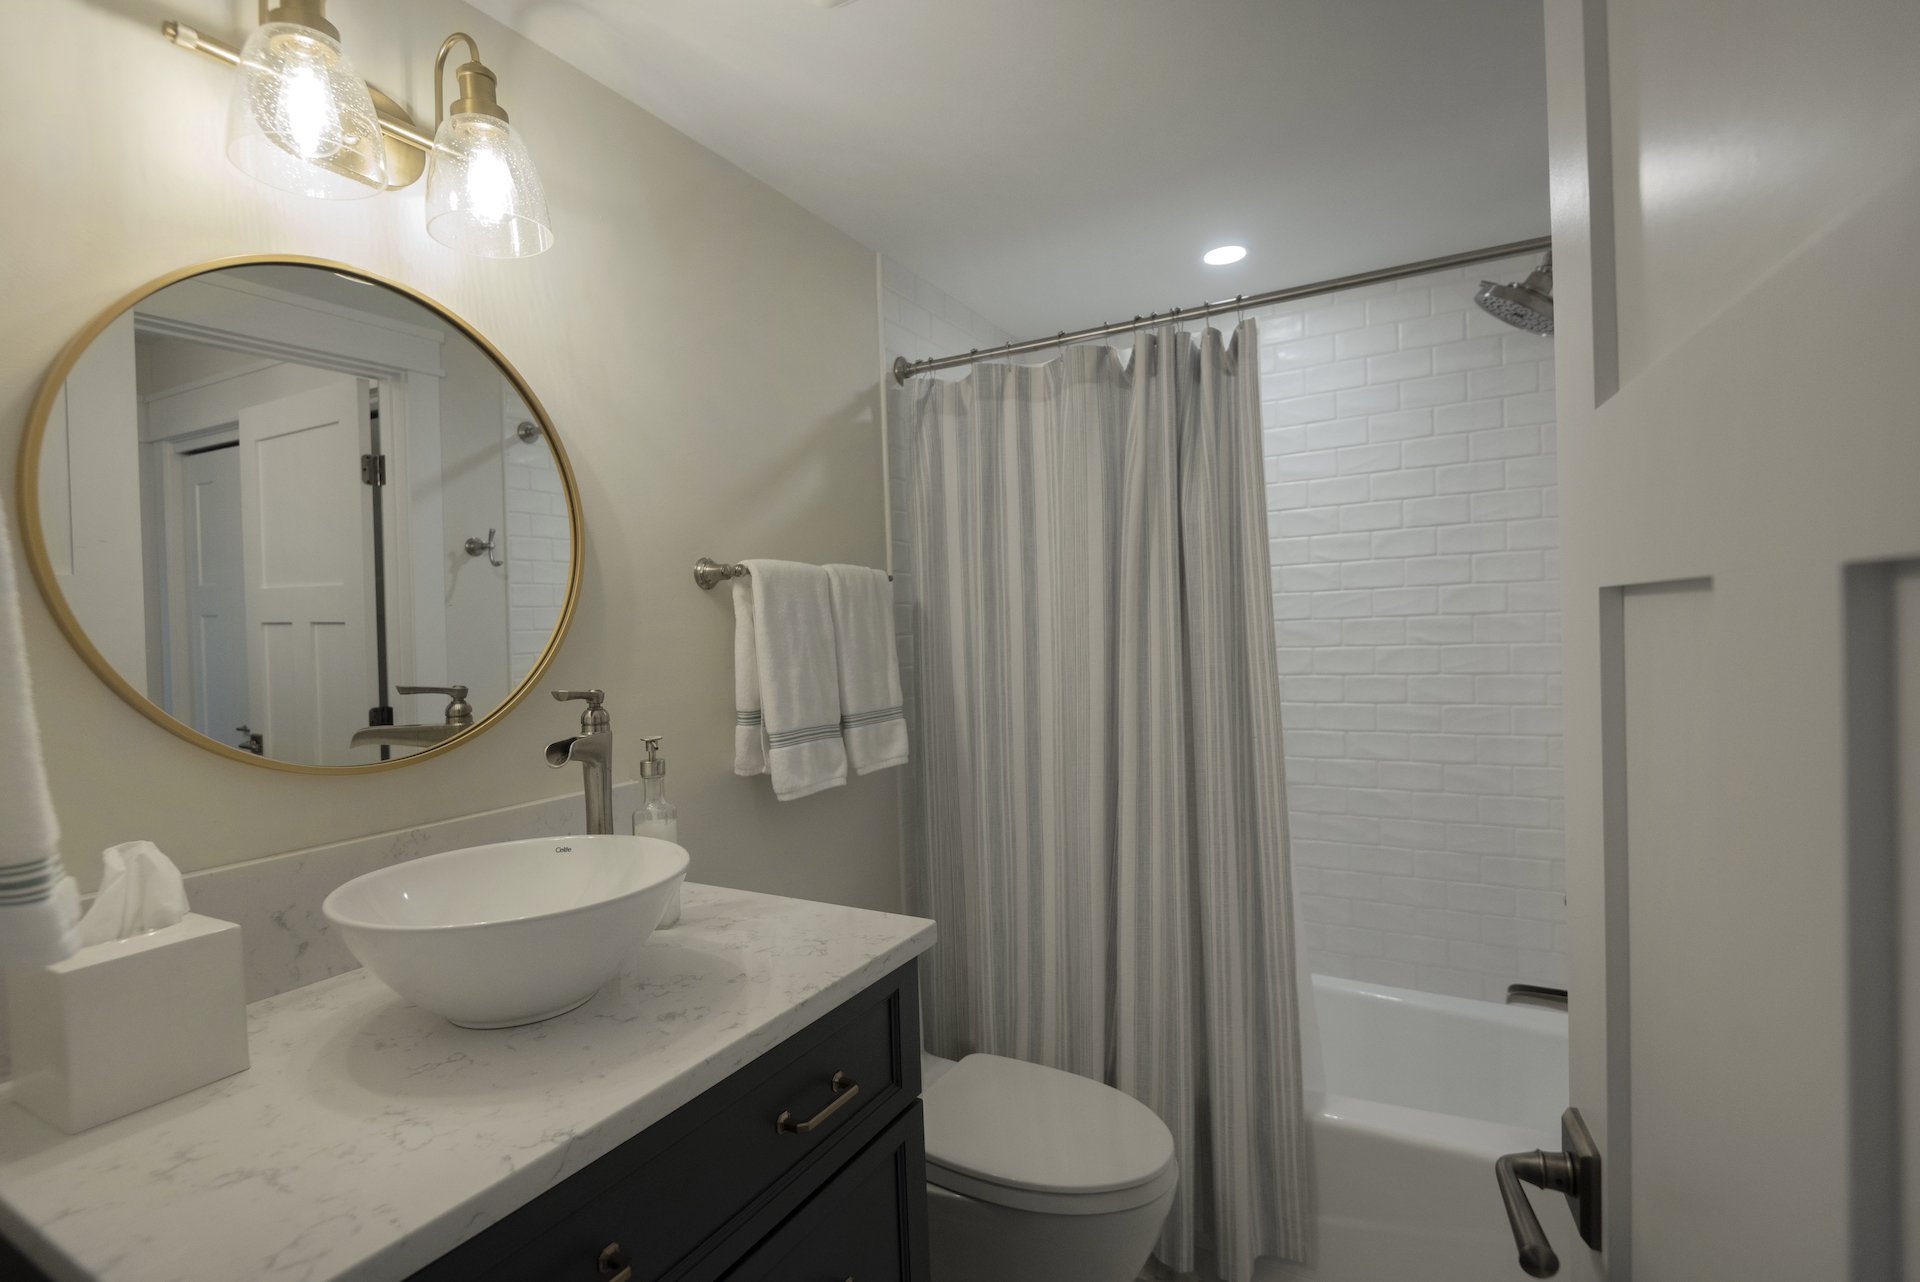
Bathroom renovations are common among growing families, as they can accommodate individual needs and make the space more accessible for everyone, including the little ones. However, with the variety of available features, narrowing down your options can become a challenge. Consider the benefits of the following ideas to determine which will work best for you.

How to Make a Bathroom Kid-Friendly

1. Variable Heights

Children thrive on independence and tend to be more enthusiastic about the tasks that they can complete on their own. Lowering a portion of the countertop could encourage self-sufficiency. This will allow them to easily wash their hands and brush their teeth without climbing on things.

If the bathroom isn’t large enough, include a built-in step stool along the base of the vanity that they can easily pull out and use.

2. Single-Lever Faucet

Turning a knob with wet fingers is difficult, especially when you have small hands. Upgrade to a sink that features a single lever. It allows for smooth temperature changes by moving from side to side and turns on and off with ease. If it fits into your budget, a touchless faucet with a sensor is even better for ease of use and minimizing germs. 

3. Storage Options

With their assortment of toys, towels, and soaps, it’s only a matter of time until your children start taking over the bathroom. Keep things tidy by adding a few storage options.

Ask your contractor to create a cubby hole in the bathtub for shampoo bottles and hang several towel racks along the wall. Mount a corner shelving unit in the shower or construct a small closet to help contain the clutter.

4. Grab Bar

Even with non-slip materials at the bottom of the bathtub and along the bathroom floor, there’s still a chance for slipping and falling. Reduce the risk of injury by having a contractor install a couple of grab bars.

Position one inside of the bathtub and the other near the towel racks. These are the areas that get the wettest, so placing bars nearby could increase the stability of your little ones.

Three Reasons to Paint Your House Before Selling

Selling a home is an enormous undertaking. Taking steps to ensure your property looks its best will greatly increase your chances of making a sale. That’s a key reason to consider hiring a painting contractor to add some fresh color to the walls. Here are the advantages of painting your home before you sell it.

Why Paint Your Home Before Selling?

1. Create an Appealing Space

When prospective buyers tour your home, they’ll envision themselves living there. Adding fresh paint to the walls is an easy way to warm up the space and create a sense of inviting ambiance. That’s key to establishing comfort, which helps interested parties get a clearer idea of whether the home is right for them or not. 

For example, a family room with a soft, neutral color sets the tone for a welcoming and engaging space where they could potentially relax in the evenings with their family.

2. Improve Areas That Need Work

Some areas of your home may need a little refreshment. While obvious damage should always be resolved promptly, small nicks, scrapes, and other superficial damage can also take away from the beauty of your home. 

Painting contractors prime the walls before they apply any color to ensure that they’re in good condition. This might involve filling gaps and repairing cracks so that the walls look their best.

3. Elevate Your Curb Appeal

Just as you put effort into improving the appearance of your home’s interior, the same energy should be directed to elevating its curb appeal. When prospective buyers drive up to your home, the first thing they’ll notice is the appearance of the property. 

Painting contractors can brighten up the home with a fresh coat of paint, minimizing any visible imperfections in the process and lending the home a refreshed look. That all-important first impression is crucial to setting the tone for a potential sale.

How to Make Your Kitchen More Kid Friendly

Your kids may gather in the kitchen area to do homework or help you cook. When the time comes to upgrade the space, you might wonder how to make it safer, more convenient, and comfortable for your young ones. Here are a handful of kitchen renovation ideas that are kid friendly.

4 Ways to Make Kitchen Renovations Kid-Friendly

1. Include More Storage

A kitchen can never have too much storage, especially when you have kids. Include cabinets and drawers to store your young ones' utensils, dishware, and healthy foods. 

Install them beneath countertops so your kids can easily access what they need to prepare snacks after school or on weekends. Keep in mind that hardwoods such as maple and birch resist scratching due to repeated opening and closing.

2. Choose Durable Countertop Materials

Kids often sit at countertops to work on art projects or complete school assignments, which means you'll need materials that stand up to paint, ink, and etchings. Quartz is an engineered natural stone bonded with resin.

In addition to looking beautiful, quartz is easy to clean and does not require sealing to remain impervious to scratches and stains. It is also nonporous, meaning it traps minimal bacteria. This makes these countertops hygienic and can prevent kids from becoming sick.

3. Eliminate Hazards

Select countertops with rounded corners to keep your kids from bumping their heads while walking or running through the kitchen. Consider lowering a section of your countertops so children can reach them without standing on chairs and potentially falling.

In the event of falls, install cork flooring to cushion the impact and prevent injuries. 

4. Select the Right Paint

Kitchen walls may become stained while kids help you cook. They may even turn into canvases for your child's artwork. Choose high-sheen wall paints, such as eggshell, semi-gloss, and high-gloss, which resist stains and are easy to clean. 

Since it's difficult to paint over darker hues, select a lighter shade for kitchen walls that you can easily repaint if they ever become stained.

Questions to Ask Before You Hire a Contractor

The right remodeling contractor will save you time and money, but you must do your due diligence to find the right one. Some contractors may only be in town for a season and disappear with no references, while others are known to perform shoddy work. Here are a few questions to ask the contractor before you sign on the dotted line.

4 Questions to Ask Before Hiring a Remodeling Contractor

1. Ask About Their Experience

Before you let someone demolish and rebuild your kitchen, patio, or deck, verify their level of experience with that type of project. A contractor who’s built a thousand bathrooms may not be qualified to remodel a kitchen. Find how many similar projects they’ve performed in the past year and ask for references. Contact previous clients or look for online reviews to learn about their experience with the contractor and the completion of their project.

2. Check Their Credentials

Contractors should carry licenses and insurance information when they talk to clients. The insurance paperwork will state if the company is insured, and it should cover your home as well. Take the time to check their license. It will tell you if a contractor had complaints against them, or if they were at previously registered under a different name, both of which are red flags.

3. Discuss Your Project Details

Find out what the estimated start and end dates of construction will be and discuss the repercussions if those deadlines aren’t met. Make sure they’ll get the permits and inspections needed for your property. Ask if they plan to do the plumbing, carpentry, and electrical work themselves, or if they hire someone else to do those jobs. If they’re hiring a third-party contractor, you’ll want to inquire about their vetting process and see their certifications as well.

Tips For a Kitchen Renovation

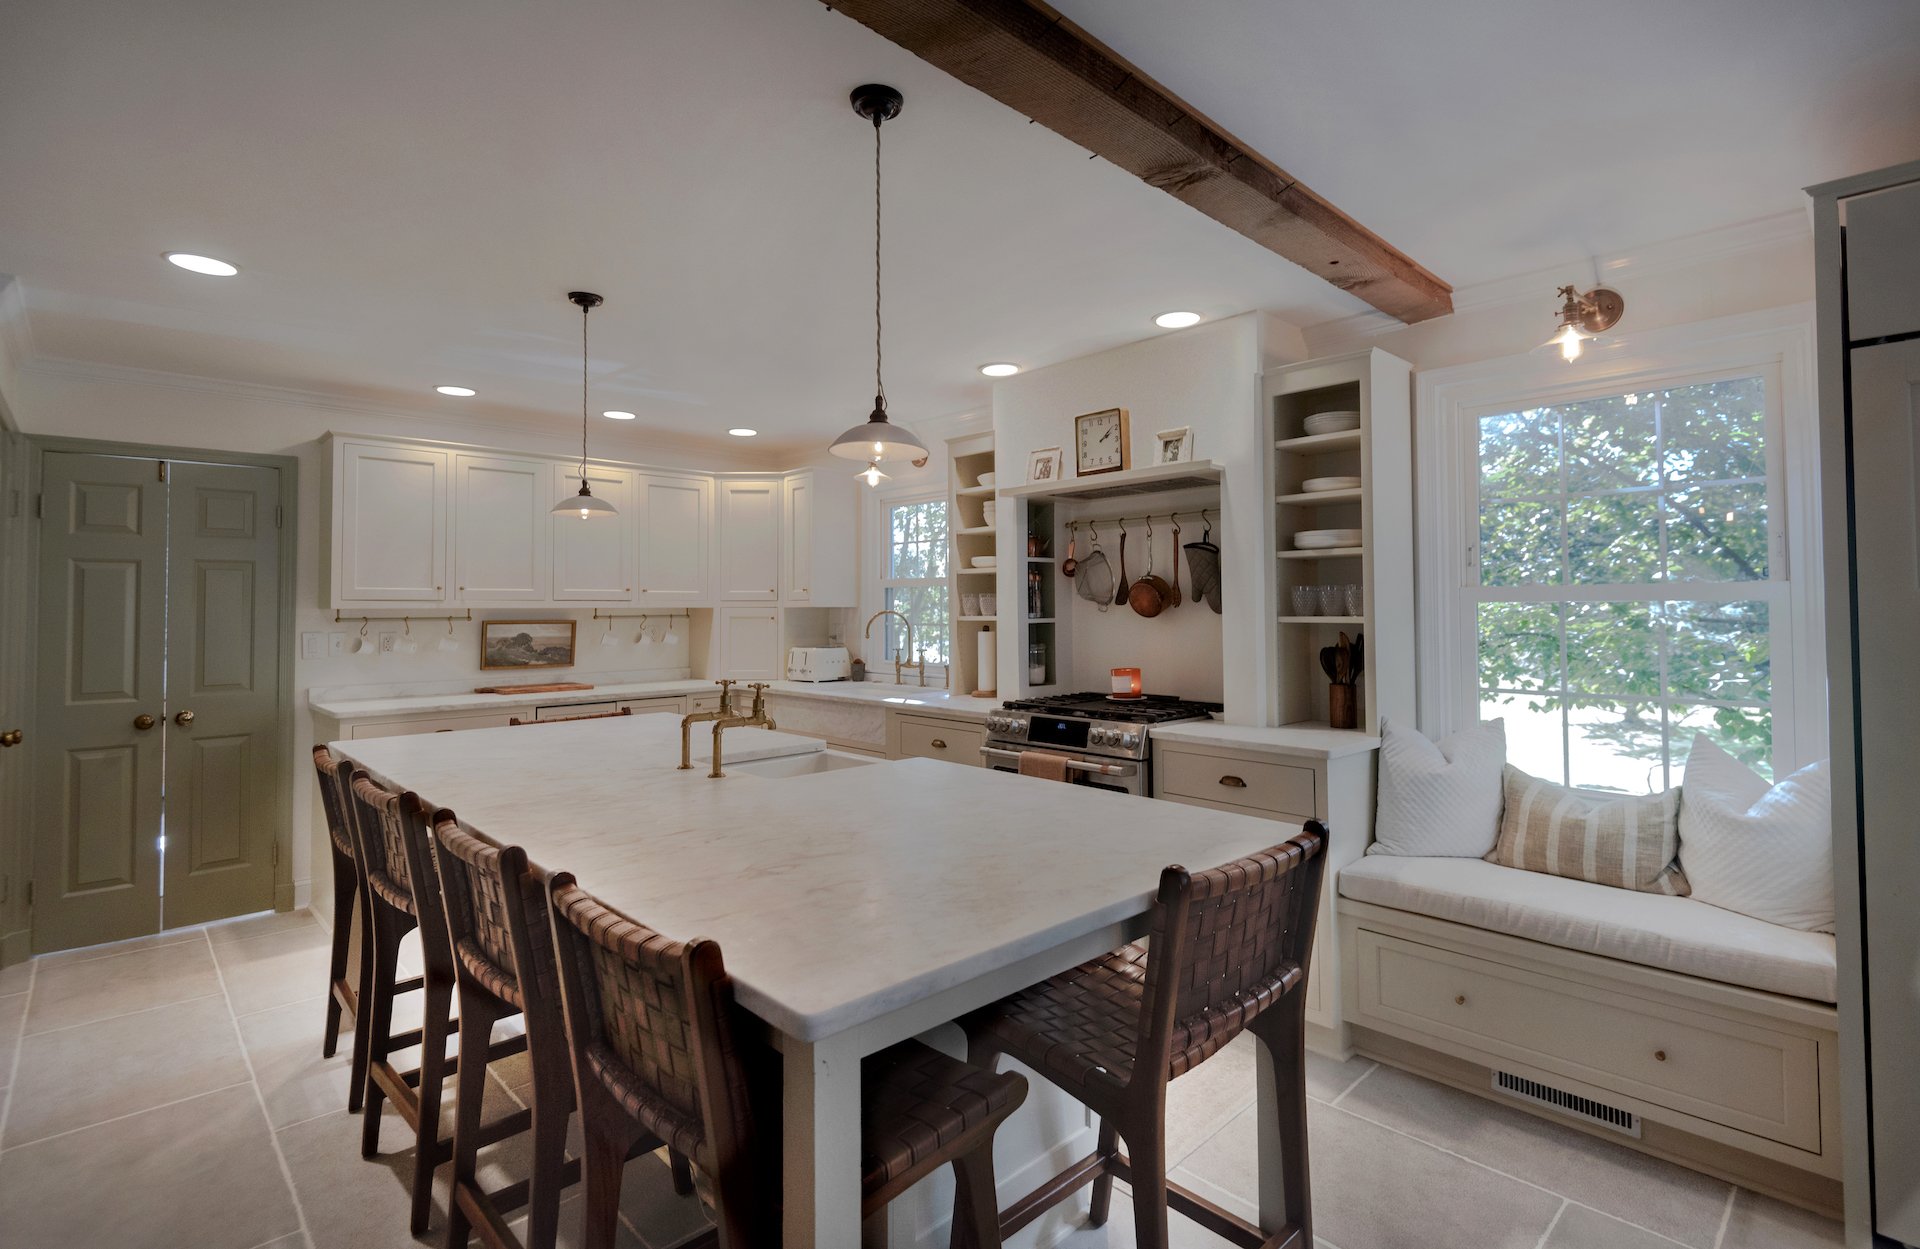
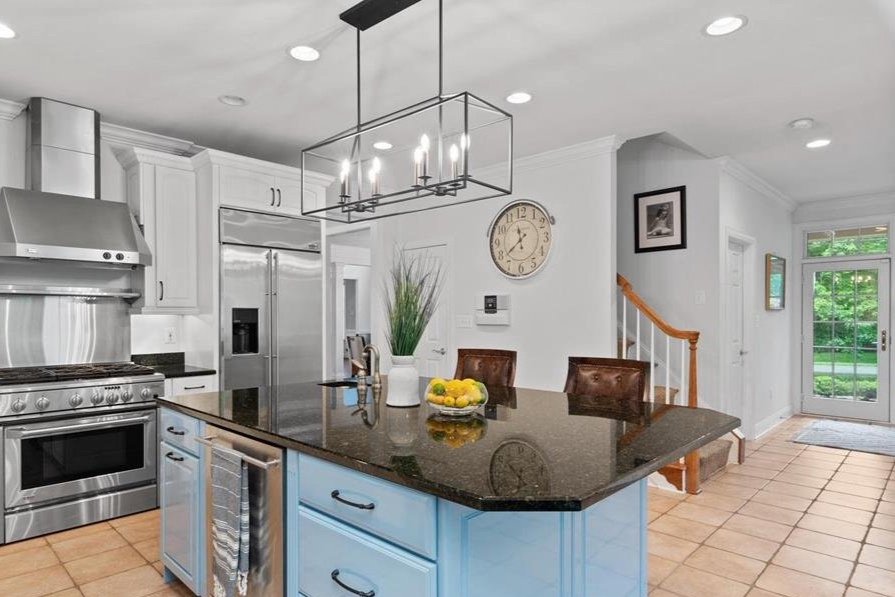
Over time, your kitchen may no longer meet the needs of your family. Kitchen renovations allow you to expand the function of the space and improve its appearance. Here are some factors to consider as you make plans to redesign the area. 

What Should You Consider Before Renovating Your Kitchen?

1. Add Storage

As part of your renovations, include more spacious cabinetry for your dishes, cookware, glasses, and small appliances. Upgrade to a walk-in pantry with separate compartments for canned, bagged, and dry goods. Pull-out cabinets for trash bins and swivel cabinets for herbs and spices are also helpful space-saving techniques. 

2. Upgrade the Lighting

There are so many options when it comes to improving the lighting in your kitchen. Under-cabinet lights are helpful for seeing clearly while you prepare meals, and pendant lighting looks gorgeous over islands and bar areas. You might also want to allow more natural light into the space by installing transom, casement, or even garden windows. 

3. Consider an Open Plan

You can use this opportunity to open up your kitchen. Knock down any walls between your kitchen and dining areas so that the space feels less enclosed and isolated. This will allow you to converse with friends and family while you prepare meals. 

4. Match the Rest of Your Home

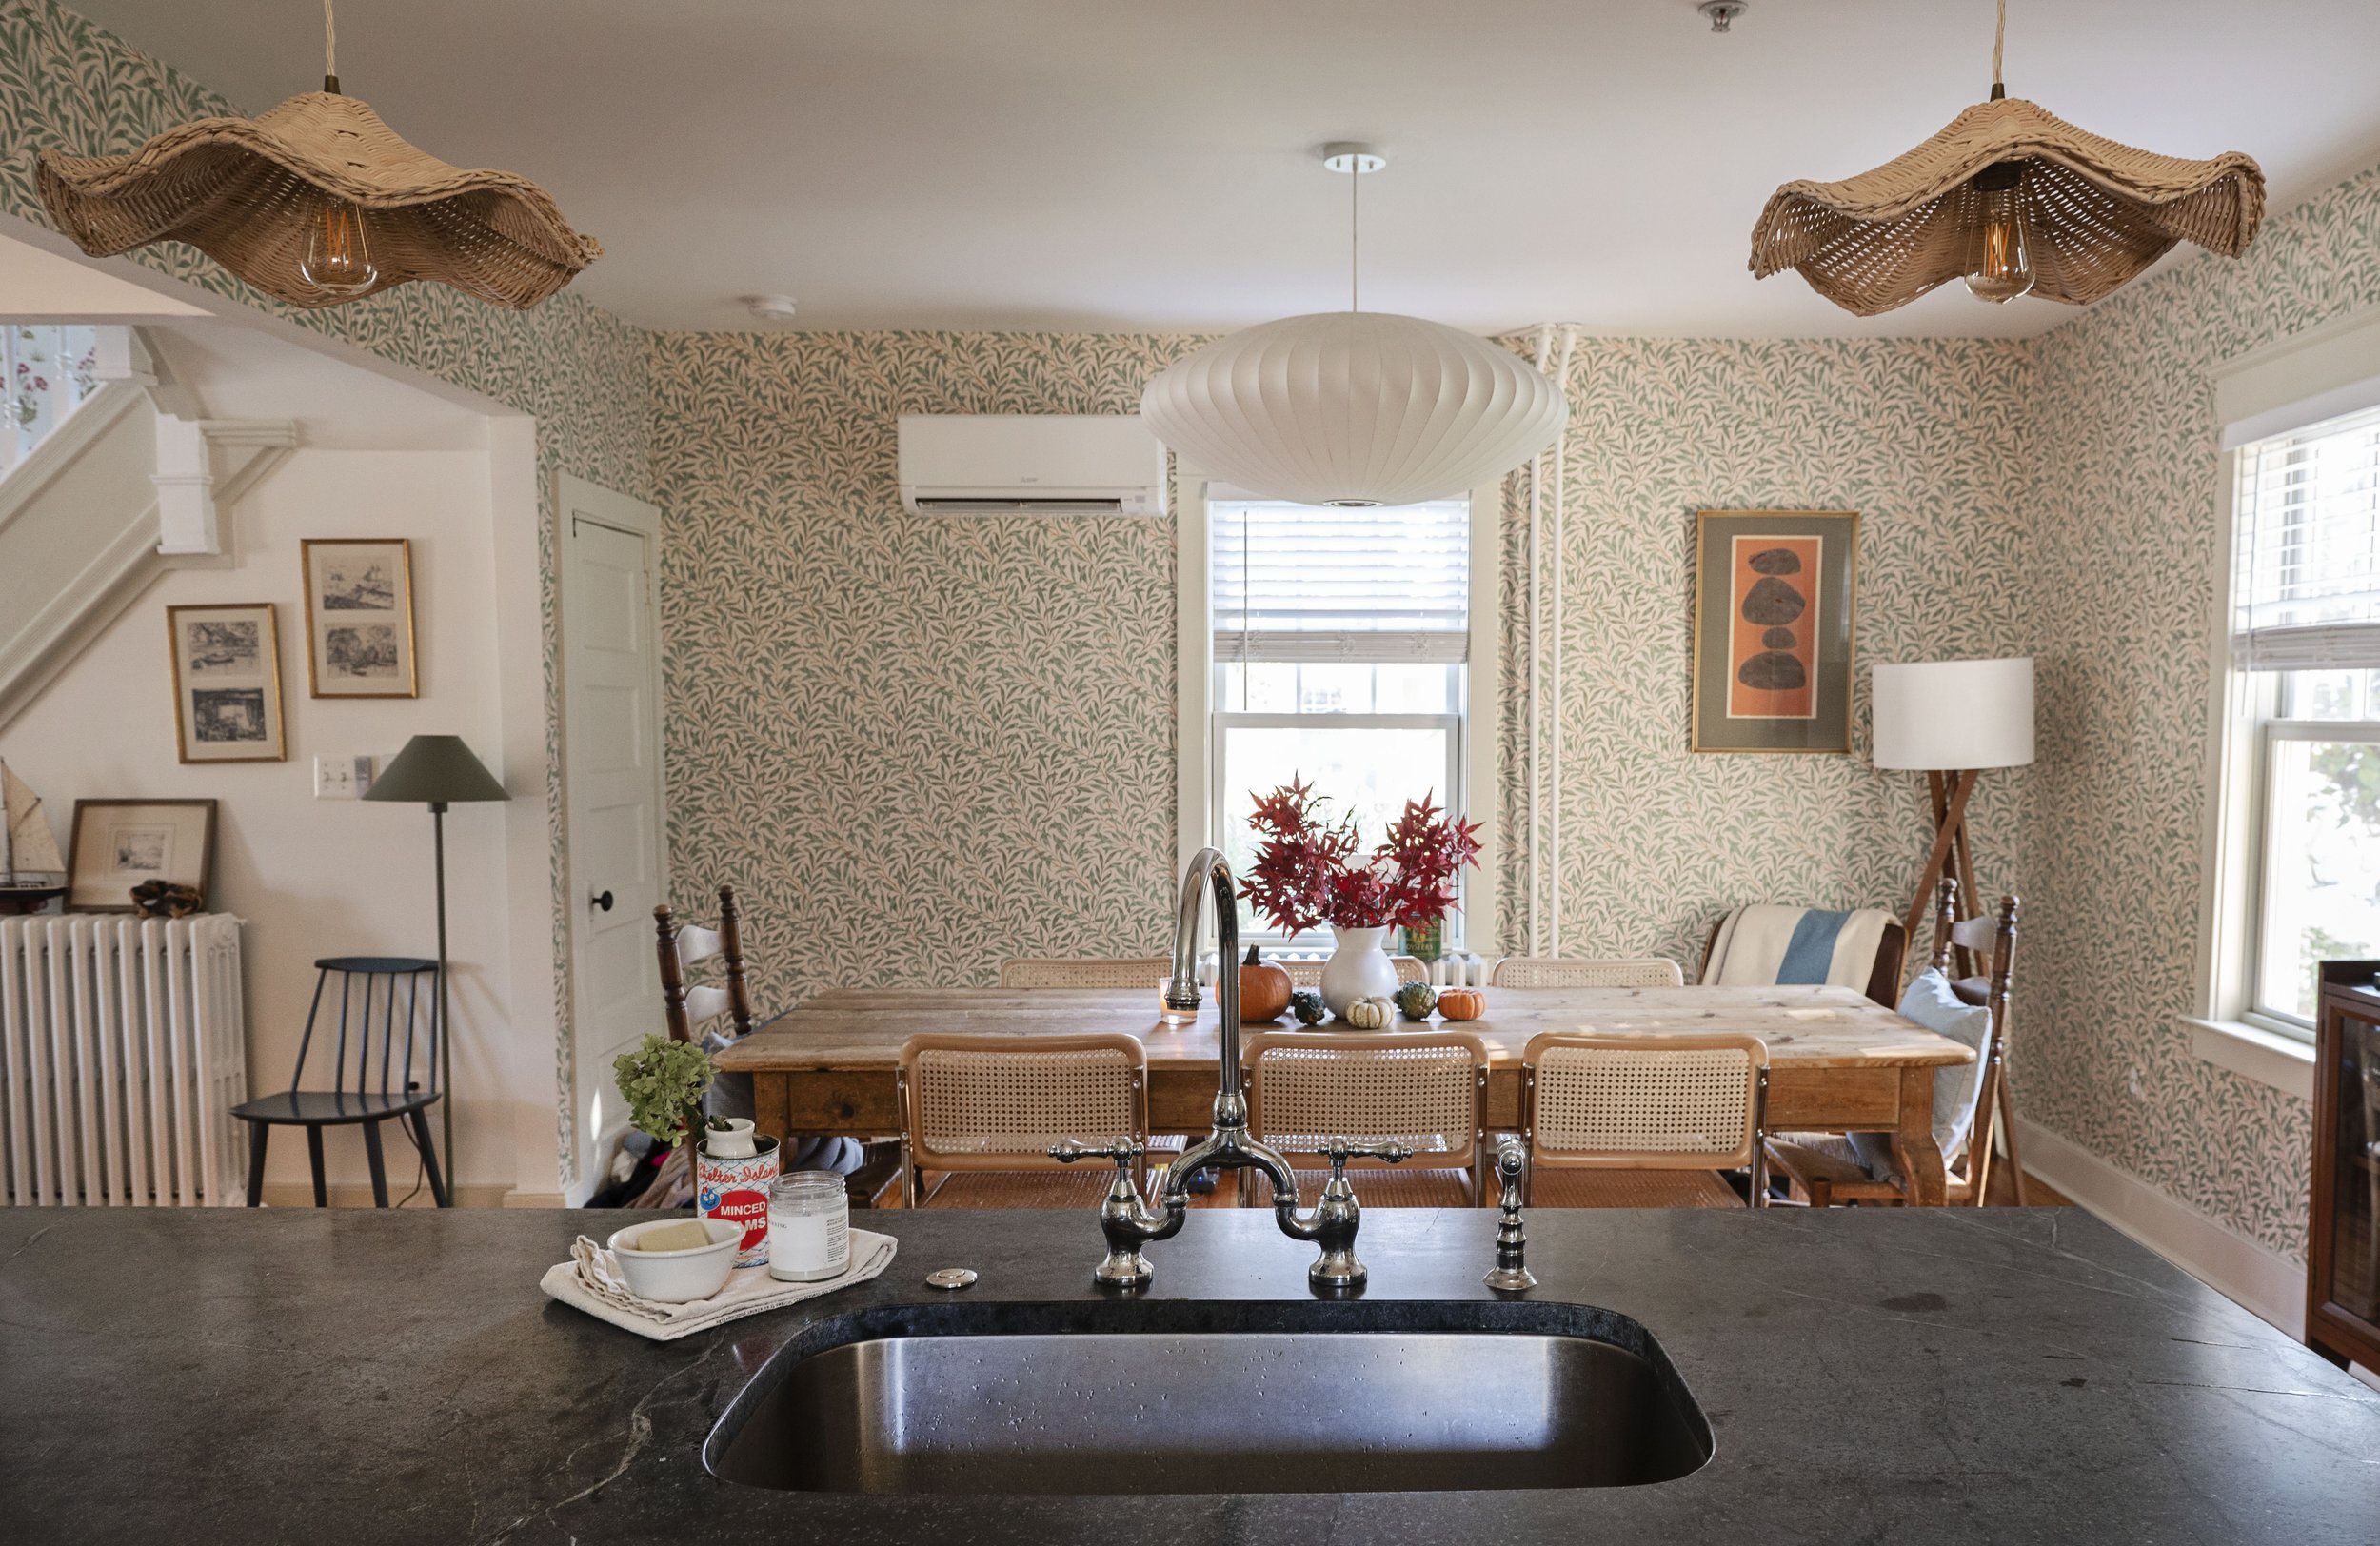
Your kitchen renovations should fit with the aesthetic of the rest of your home. For example, an ultra-modern kitchen would look out of place in an otherwise traditional space. From your choice of hardware to appliance selection, make sure that the style and mood blends in seamlessly with the surrounding rooms.

How to Choose The Correct Primer

1. What’s the best approach to primers? When do I need one? What are the situations when I don’t need to use a primer?

The first thing I always talk about is prep! Even though these are primers, there still is a certain amount of surface prep that needs to be done prior to priming. The surface must be clean, dry, dull and sound.1

You may not need a primer if you’re painting over similar types of existing finishes that are clean, dry, dull and in sound shape – such as latex to latex, or latex to oils.

We are going to recommend a primer when you need to promote adhesion, block stains, fill porous surfaces like concrete block, or resist alkali and efflorescence, provide corrosion resistance, paint white over deep, dark colors, and so on.

This also is all dependent on existing coatings. For example, you might need a bonding primer if you’re trying to paint cabinets that have been factory-finished. Primers can help hide in the transition of color, or even provide bonding when moving from catalyzed epoxies or varnish to acrylic paints.

2. What are the advantages and disadvantages of water-based primers?

Advantages: Water-based primers are easier to use. Many have less than 50 g/L VOCs as well.

Some water-based acrylic primers/ sealers help seal out solvent sensitive stains, including tar, solvent based markers, blocks stains from crayon, permanent marker, pencil, mustard, ketchup and tea.

Some water-based primers are designed to be applied to drywall to help seal the drywall so that the subsequent coats will provide great holdout of the finish. This will help achieve a smooth, professional finish, improve touch-up performance of the topcoat, and attain the truest paint color in the fewest coats.

Disadvantages: Sometimes stains can be activated by the water in the coating.

3. What are the advantages and disadvantages of solvent/oil-based primers?

Advantages: Solvent/oil-based primers tend to do a better job of blocking certain water-soluble and general stains. For instance, oil-based exterior primer will help block severe wood tannin stains common in bleeding woods like red cedar and redwood.

Other interior/exterior alkyd type primers are very good at blocking stains from smoke, fire and nicotine, and block tannin bleed from bare wood. Depending on the need, primers are formulated to dry slowly to very quickly.

Disadvantages: As with a water-based primer, sometimes the stain can be activated by the solvent in the coating. Some oil-based primers can be higher VOC and have an objectionable odor.

4. Is this the right primer for the job?

Let’s not forget to match up the quality of primer to the environment in which it will be used. Before choosing a primer, there are many questions that need to be asked. By understanding the benefits of each primer, you can focus in on proper product selection for specific areas of the project.

Whether you’re a pro or a novice painter, you don’t need to know all of the answers about priming and painting – just the right questions to ask.

A good starting point is to ask your paint sales rep or store manager: “What is the right primer for my project?” 

At Sherwin-Williams, we design products for specific jobs, rather than broad formulations or one-size-fits-all, and our employees are trained to help you determine the best primer for your next project.

If you’re considering a lower-cost primer, ask: “What performance characteristics am I sacrificing for price?” It’s always wise to be sure you are comparing “like” products from different manufacturers.

Finally, ask: “Which system is going to give me the best long-term value?”

Investing a little more in high-quality Sherwin-Williams primer and finishes can offer big dividends in reduced maintenance costs over time.

5. How long does it take for primers to dry and adhere properly?

I would answer this question with a question: How long has the primer been allowed to dry and/or cure?

Standard acrylic latex type primers may take longer to dry and cure to attain proper adhesion than, say, a fast-dry oil-based product. So, if that acrylic primer has had only four to eight hours dry time, I would say you could possibly pull a lot of primers off the substrate with just tape.

Some primers (such as modified acrylic bonding primers) offer great adhesion within 24 hours on various substrates. Drying and adhesion all depends on the coating technology and manufacturer’s formulations. I would check the manufacturer’s data page for drying and recoat times.

If there is an adhesion problem to begin with, then a coating will only be as good as what is underneath it. That’s why at the very beginning I talk about the surface prep that needs to be done prior to priming. To reiterate, the surface must be clean, dry, dull and sound before primer or paint is applied.

6. Aren’t a lot of interior paints now “paint and primer in one”? Why do we need primers?

When you read the label or product technical information regarding the practical application of these products, you basically do not need to prime when you can “get by” without a primer, especially over existing clean, sound, painted surfaces.

What we mean by this is simply spelled out within the directional copy of these products. There is a requirement of a primer when you need to promote adhesion, or block stains, fill porous surfaces like concrete block, or resist alkali and efflorescence, etc.

Most importantly of all, some “paint and primer in one” products require at least a second coat (and maybe more) to achieve complete coverage and satisfactory results and performance.

One point to remember is that you may be able to “get by” with satisfactory results when using these products as a primer and finish paint on certain new substrates. However, the best quality finish will be achieved with the use of the appropriate premium primer. Do it right the first time and get the finest quality finish customer’s demand. The right primer for the job should always be the first recommendation.

Notes

1Warning! Removal of old paint by sanding, scraping or other means may generate dust or fumes that contain lead. Exposure to lead dust or fumes may cause brain damage or other adverse health effects, especially in children or pregnant women. Controlling exposure to lead or other hazardous substances requires the use of proper protective equipment, such as a properly fitted respirator (NIOSH approved) and proper containment and cleanup. For more information, call the National Lead Information Center at 1-800-424-LEAD (in US) or contact your local health authority.